It’s been a while since my last blog post. It’s vacation time and I’ve decided to postpone everything. I’d rather spend time on summer activities than working and coding.
Having that said, I’d like to write a short post about the usage of Vectors in Xamarin.Forms. I want to do it because I’ve implemented it recently and it’s worth sharing.
What are vectors?
The answer to this question will be very brief. Vectors are images that scale nicely. They are rather simple icons then complex images. Using vectors is good because you can have one file and it will cover different resolutions. No need to have 3 files on iOS and many on Android. One image to rule them all.
You can learn more by reading this Wiki page.
Vectors in Xamarin.Forms
In this post, I will focus on a simple solution. I won’t use any 3rd party libraries (FFImageLoading supports vectors). I assume your solution supports both iOS and Android. I will cover both. To begin with we need to add those vectors to your projects. Let’s go!
Xamarin.iOS
On iOS, you will need your vector to be in PDF format. You should be able to export your image to PDF in Figma/Zepplin/whatever-you-use. Let’s assume, you’ve managed to do it. Hence, you have a file that you want to add. Great!
Open assets in iOS project.

In the second step, you will need to create a new “Image Set”. To do that, tap green plus at the bottom of assets list.

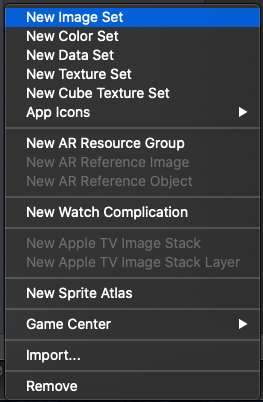
Remember to name it properly.
Drag and drop your file to “Vector” in Universal section.
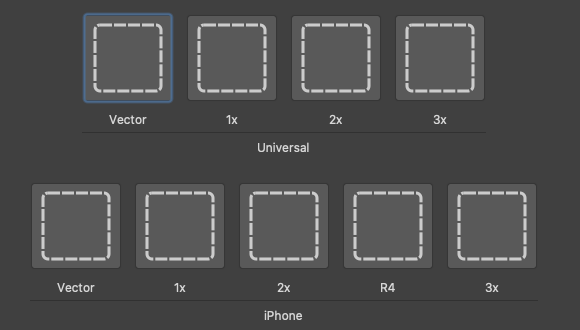
Of course, if you want this file to look different on iPhones and iPads then you need to drag it to the proper section. That’s it. Thus, iOS is ready!
Xamarin.Android
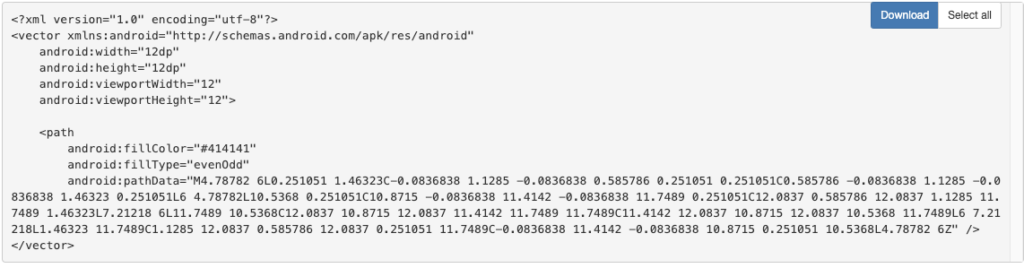
On Android, more actions are required. To begin with, you need your image to be in SVG format. In the second step, you need to go to this page and convert your SVG file to Android drawable. As a result of the conversion, you will get xml with vector and path.
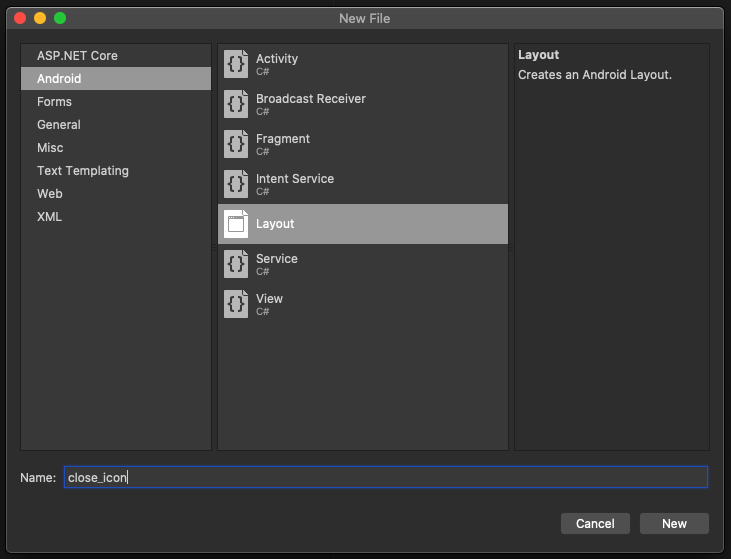
Copy it to your clipboard. Let’s go back to Visual Studio. Expand resources under the Android project and add new drawable.
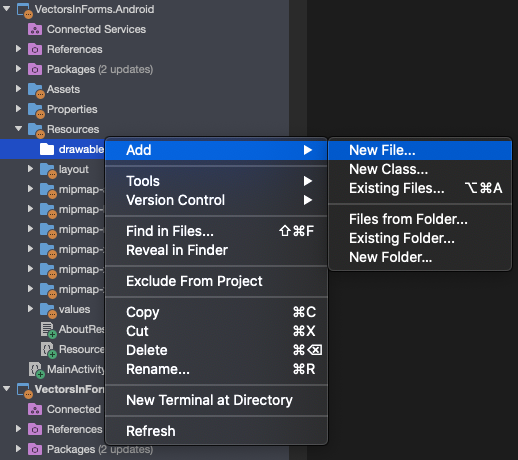
Add new drawable
Name it same as the one that you’ve added on iOS.
Now, paste what you’ve copied. Save it. Done!
Consuming vectors in Xamarin.Forms.
But how to use this image in Xamarin.Forms page? Really easy. You can consume your vector in the same way as you use other images.
<Image Source="close_icon" HeightRequest="20" WidthRequest="20" HorizontalOptions="Start" VerticalOptions="Start" Margin="40"/>Voilá! It works!
Let’s go to the beach!
I hope you find this article useful. Using Vectors in Xamarin.Forms can save you time adding all resources and reduce your app size. Only benefits.
Now, let’s go and enjoy the summer! Obviously, summer is not for coding!
What about the performance of svgs? Based on your experience, did you have any problem with this? Like higher cpu or ram usage for example.
Hey, thanks for your comment. Not sure what you mean by svg as I am using pdf’s on iOS and drawbles on Android (in fact those are svgs, but wanted to make it clear). I didn’t notice any side effects. The only thing that I noticed is better scaling of icons + smaller app size (as you don’t need to upload many files of some image)
How do you do assign the image in code behind? I tried but nothing works
ImageSource.FromFile(“vectorimage.xml”)
I was able to get it working with a simple
TestImage.Source = ImageSource.FromFile("ic_back");No need to specify the extension – on iOS vectors are in pdf and on Android they are in XML.
Remember to set proper build action on your resource!
Hope that helped!